Ever ruined a perfectly good piece of walnut because your router slipped? You’re not alone. In the world of home improvement, few tools blend precision and peril like routers—and when paired with hand tools in woodworking, the margin for error shrinks fast. Whether you’re crafting custom trim or building a cabinet from scratch, mastering hand tools routers woodworking techniques can mean the difference between heirloom quality and hardware-store scrap. In this guide, we’ll walk through exactly how to avoid common blunders, choose the right combo of tools, and execute clean, professional results—even if your workshop fits in a garage.
Table of Contents
- Why Router & Hand Tool Synergy Matters
- Step-by-Step Guide to Safe Router + Hand Tool Workflow
- Best Practices for Precision and Control
- Real-World Results from Smart Router Use
- Frequently Asked Questions
Key Takeaways
- Always secure your workpiece—router kickback causes over 6,000 ER visits annually (U.S. CPSC).
- Use hand planes or chisels to clean up tear-out after routing; don’t rely solely on the router bit.
- Match bit speed and feed rate to wood type—softwoods need faster feed than hardwoods.
- Never force a router; let the bit do the work to avoid burning or splintering.
- Invest in a plunge base for edge work—it’s non-negotiable for accurate depth control.
Why Router & Hand Tool Synergy Matters
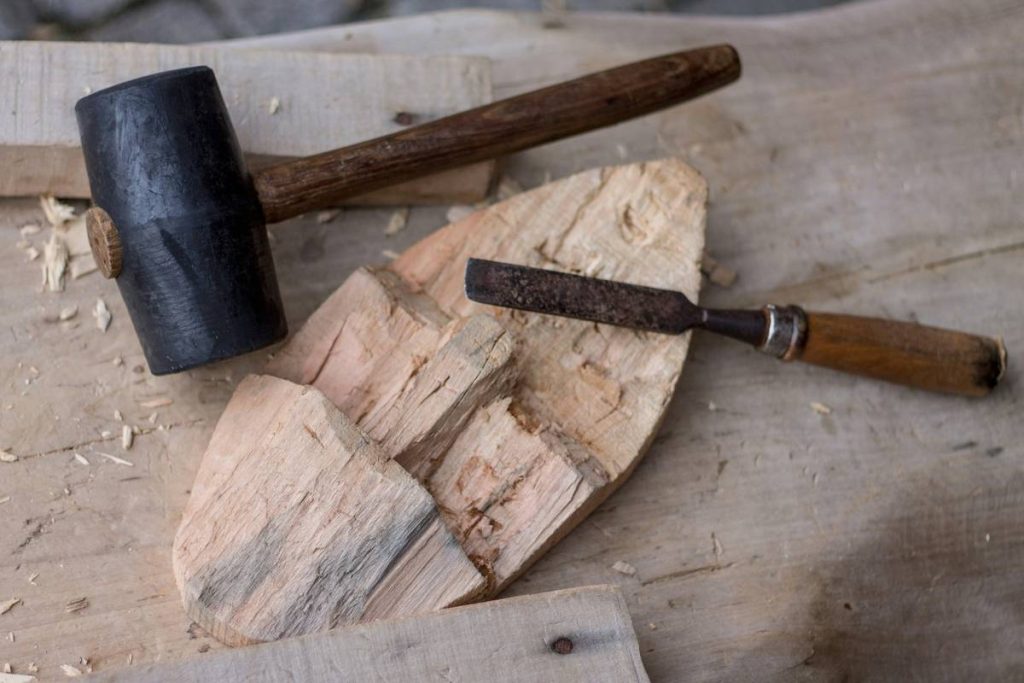
In DIY woodworking, routers excel at creating consistent profiles, grooves, and joints—but they’re rarely the finish line. That’s where traditional hand tools step in. A well-tuned shoulder plane cleans up router-induced tear-out along end grain. A sharp chisel refines dados that the bit left slightly fuzzy. This hybrid approach isn’t just nostalgic; it’s practical craftsmanship backed by decades of shop wisdom.
I learned this the hard way on my first bookcase build. Overconfident, I ran a straight bit along cherry without clamping the piece down securely. Halfway through, the board shifted—the bit grabbed, yanked the workpiece, and gouged a 3-inch scar across the surface. Instead of starting over, I salvaged it with a low-angle block plane and some careful sanding. Lesson? Routers demand respect, but hand tools offer redemption.
According to the U.S. Consumer Product Safety Commission, power tool-related injuries spike during peak DIY seasons—often due to improper workholding or rushed setups. Combining routers with manual finishing tools reduces reliance on “perfect” machine passes and builds in margin for human error.
Step-by-Step Guide to Safe Router + Hand Tool Workflow
1. Secure Your Workpiece Like Your Fingers Depend on It (They Do)
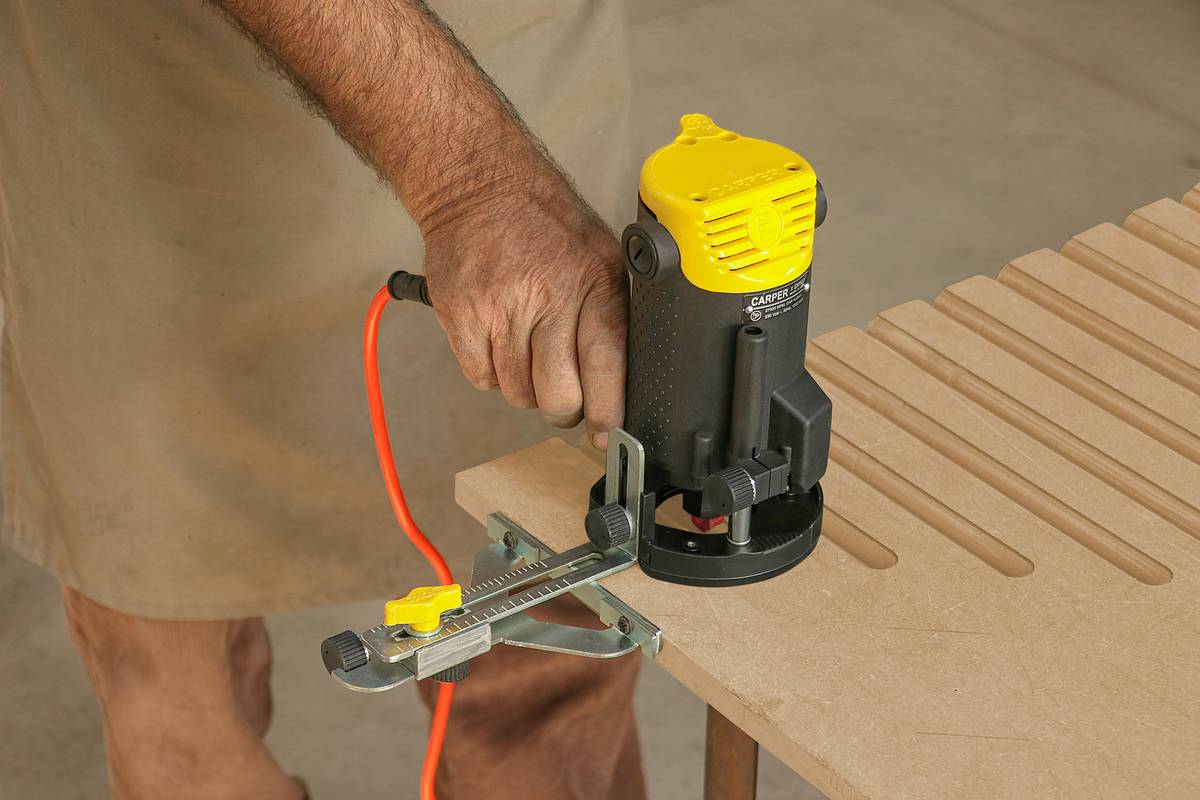
Use bench dogs, clamps, or a dedicated router table fence. Never hold stock by hand while routing edges. For freehand work, opt for non-slip mats or double-sided tape on sacrificial backing boards.
2. Choose the Right Bit and Depth
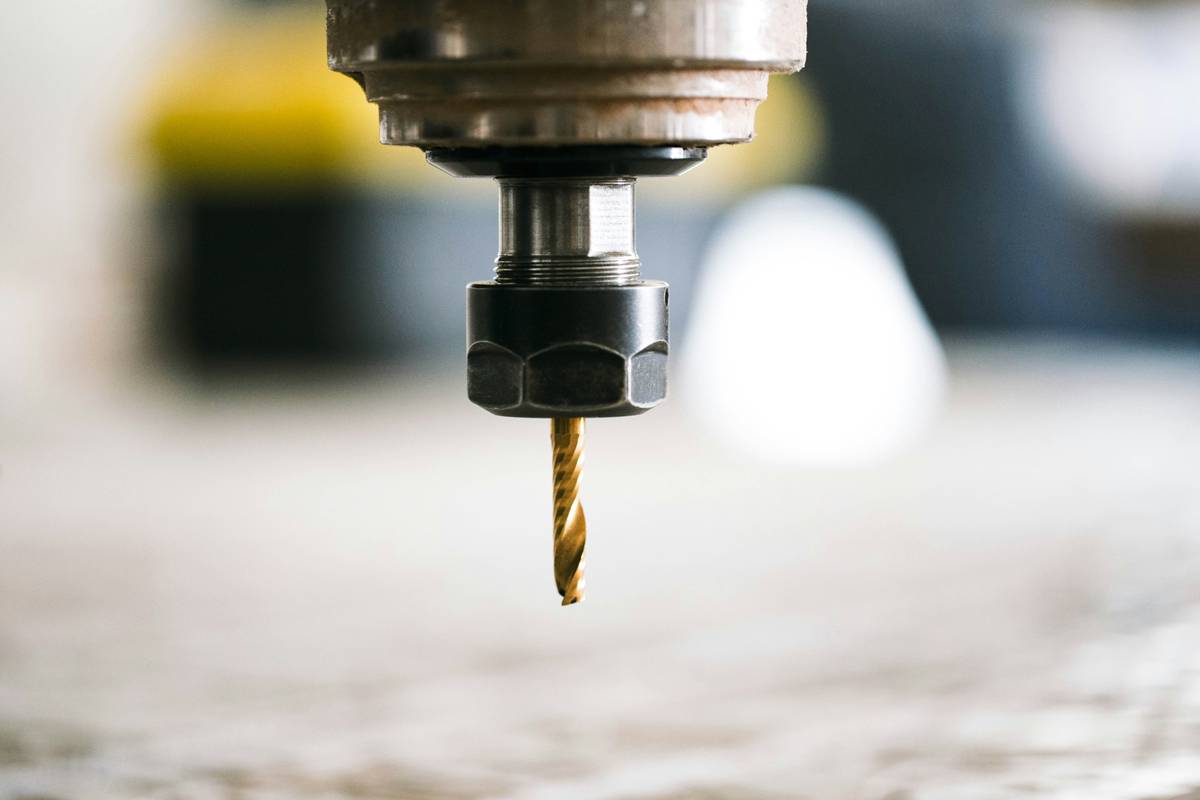
Flush-trim bits for template work, chamfer bits for softening edges, straight bits for joinery. Set depth in increments—never plunge more than 1/8 inch per pass on hardwoods.
3. Route With the Grain (Mostly)
On edges, move against the bit rotation (climb cutting) only for final light passes to reduce tear-out—but never as your primary cut. Standard routing direction minimizes kickback risk.
4. Clean Up with Hand Tools
After routing a rabbet, run a sharp chisel along the shoulder to remove micro-splinters. Use a card scraper or hand plane on routed surfaces before final sanding.
Best Practices for Precision and Control
- Sharpness is non-negotiable: Dull router bits burn wood and cause chatter. Replace or sharpen after 8–10 hours of use.
- Use featherboards: These keep consistent pressure on the workpiece, reducing vibration and improving finish quality.
- Avoid the “terrible tip”: Don’t use a router to flatten warped boards—that’s what jointers or hand planes are for. Routers follow contours; they don’t correct them.
- Test on scrap first: Always dial in depth, speed, and feed rate on offcut material matching your project wood.
And please—stop using those flimsy plastic router bases that flex under pressure. A solid aluminum base plate improves accuracy dramatically. It’s one of my biggest pet peeves in the tools aisle: companies selling “complete kits” with bases thinner than a cereal box.
Real-World Results from Smart Router Use
Last year, a reader applied these principles to build a Shaker-style door set for their kitchen renovation. Using a 1/2-inch straight bit in a fixed-base router mounted under a homemade table, they cut consistent mortises for hinges. After routing, they cleaned each cavity with a 1/4-inch chisel beveled at 25 degrees. The result? Seamless hinge seating with zero gaps—something even their contractor complimented. They documented the entire build on their blog, citing our guide and linking to authoritative sources like Fine Woodworking, a trusted industry publication since 1975.
This approach saved them over $1,200 compared to outsourcing—and taught them transferable skills for future projects. For more on our philosophy behind durable, user-focused engineering solutions, see our About Us page.
Frequently Asked Questions
What’s the best router for beginner woodworking?
A mid-sized (1.25–2 HP) plunge router with variable speed, like the DeWalt DWP611 or Bosch PR20, offers the best balance of control and power for hand tools routers woodworking tasks.
Can I use a router without a table?
Yes—for edge profiling, flush trimming, or shallow grooves. But for small pieces or repetitive joinery, a router table significantly boosts safety and accuracy.
How do I prevent burning when routing hardwood?
Reduce RPM (e.g., 16,000–18,000 for oak), increase feed rate slightly, and ensure your bit is sharp. Never dwell in one spot.
Do I need both fixed-base and plunge routers?
Not immediately—but many woodworkers eventually own both. Start with a combo kit if budget allows. Learn more about safe practices via OSHA’s woodworking guidelines (osha.gov/woodworking).
What hand tools pair best with routers?
Chisels, shoulder planes, card scrapers, and marking gauges. These refine and perfect what the router starts.
Mastering hand tools routers woodworking isn’t about buying every gadget—it’s about understanding how machines and manual skill complement each other. When your router leaves a tiny imperfection, your chisel whispers, “I’ve got this.” Ready to elevate your next build? We’d love to hear about it—contact us with your project story. And remember: measure twice, route once, and always respect the grain. As the old shop saying goes: “The router doesn’t lie—but your hands can fix its honesty.”
For details on how we handle your information when you reach out, review our Privacy Policy.