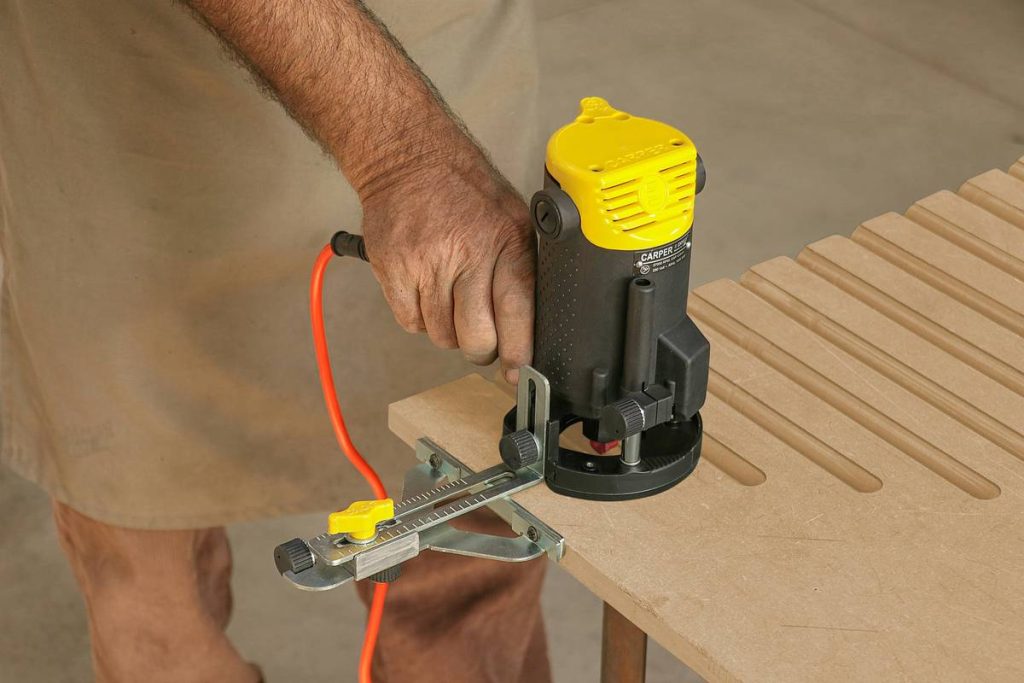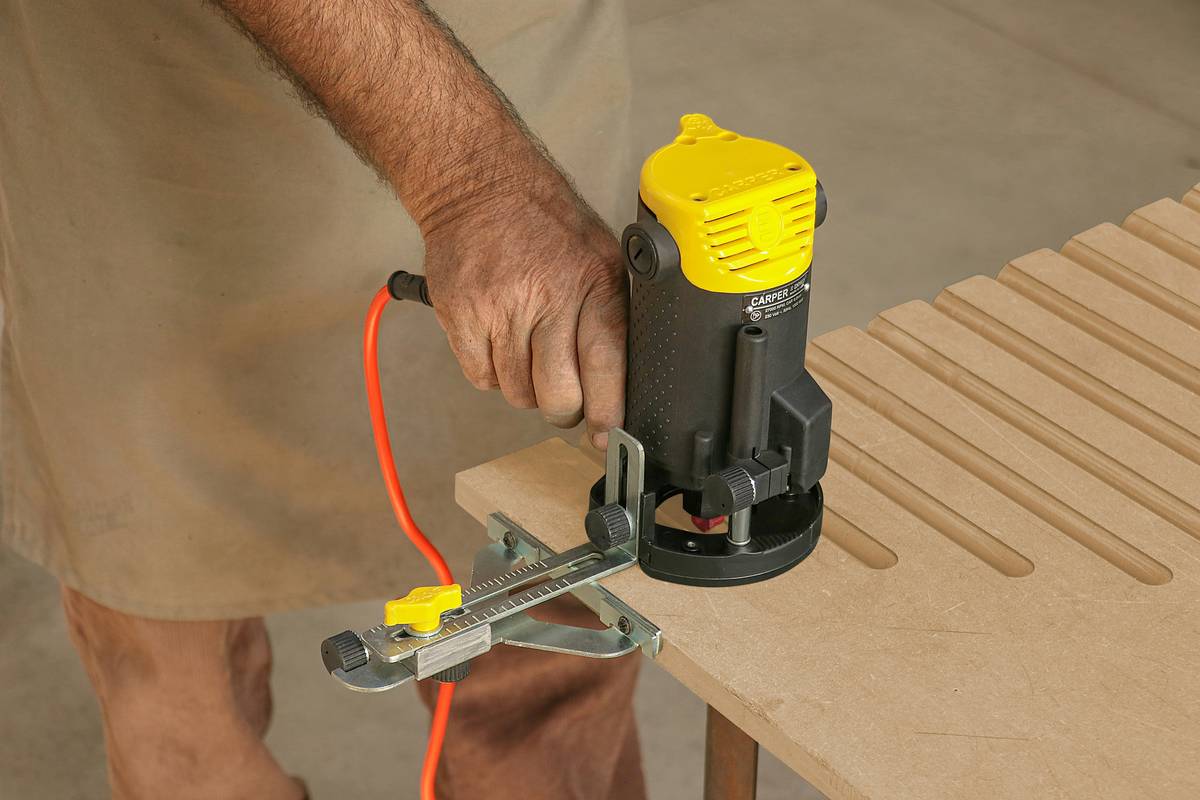
Ever ruined a perfectly good board because your router bit wandered off-course or kicked back violently? You’re not alone. Many DIYers and even seasoned woodworkers underestimate the power—and precision—required when using a wood router. Whether you’re trimming edges, cutting joinery, or adding decorative profiles, mastering this versatile tool can transform your home improvement projects from amateurish to artisanal. In this guide, we’ll walk you through essential techniques, safety protocols, and pro-level insights to help you get clean, consistent results every time.
Table of Contents
- Why Router Skills Matter in Home Improvement
- Step-by-Step Guide to Safe and Effective Routing
- Top Best Practices for Cleaner Cuts
- Real-World Results: From Kitchen Trim to Custom Cabinets
- Frequently Asked Questions
Key Takeaways
- Always feed the router against the bit’s rotation to prevent tear-out and kickback.
- Start with shallow passes—never remove more than ¼ inch of material in a single pass.
- Secure your workpiece firmly; vibration is the enemy of precision.
- Use sharp, high-quality bits designed for your specific cut type.
- Practice on scrap wood before committing to your final piece.
Why Router Skills Matter in Home Improvement
In the world of home improvement, small details make big impressions. Crown molding that fits seamlessly, cabinet doors with crisp grooves, or custom shelves with smooth rounded edges—all rely on proper routing technique. Poor execution doesn’t just look bad; it can compromise structural integrity, especially in joints like dados or rabbets.
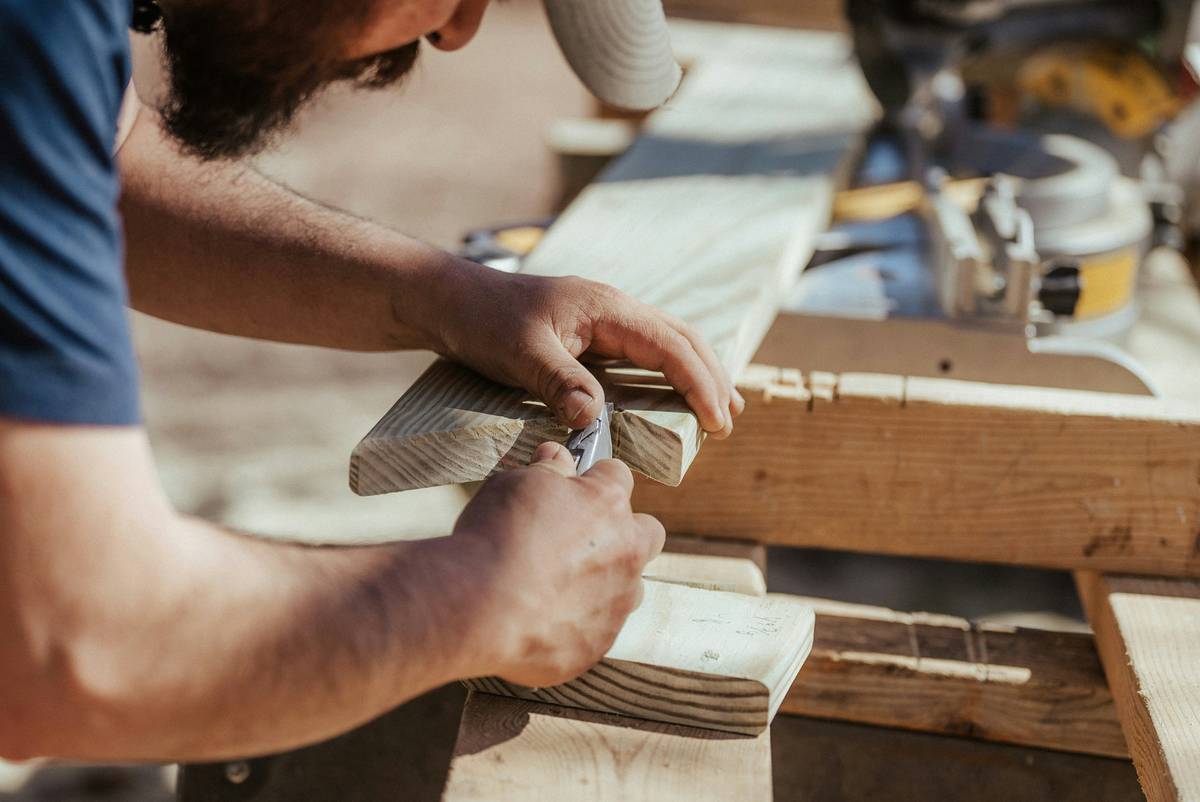
I learned this the hard way early in my workshop days. I was rushing through a shelf project and tried to cut a full ½-inch groove in one pass with a straight bit. The router bogged down, jerked sideways, and left a nasty gouge that ruined the entire panel. It cost me both time and material—a painful but unforgettable lesson in patience and depth control.
According to the U.S. Consumer Product Safety Commission, power tool-related injuries often stem from improper handling or inadequate setup—issues entirely avoidable with proper training and respect for the tool’s capabilities.
Step-by-Step Guide to Safe and Effective Routing
1. Choose the Right Bit and Collet
Match your bit to the task: round-over for soft edges, straight bits for grooves, flush-trim for pattern work. Ensure the bit shaft fully seats in the collet—usually ⅜ to ½ inch deep—and tighten securely.
2. Set Depth Accurately
Use a ruler or digital gauge. Make test cuts on scrap wood to dial in the exact depth. Remember: multiple light passes yield smoother results than one aggressive cut.
3. Secure Your Workpiece
Clamp boards to your bench or use non-slip mats. Never hold pieces by hand while routing—vibration can cause slippage and dangerous kickback.
4. Maintain Proper Feed Direction
Move the router against the bit’s rotation (climb cutting is an advanced exception). On a handheld router, this means moving clockwise around the outside of a board and counterclockwise on interior edges.
5. Control Speed and Pressure
Let the router do the work. Forcing it leads to burning, chatter, or motor strain. Use variable speed settings appropriately—slower for large-diameter bits.
Top Best Practices for Cleaner Cuts
- Keep bits sharp: Dull bits increase heat, tear-out, and effort. Replace or sharpen them regularly.
- Use a router table for small pieces: It offers better control and safety than freehand routing.
- Wear PPE: Safety glasses, hearing protection, and a dust mask are non-negotiable.
- Avoid the “terrible tip”: Never start the router with the bit touching the wood—that causes immediate splintering and loss of control. Start above the surface, then lower into the cut.
And here’s my pet peeve: those cheap, no-name router bits sold at discount stores. They wobble, burn easily, and often shatter under load. Invest in carbide-tipped bits from reputable brands—they last longer and cut cleaner.
Real-World Results: From Kitchen Trim to Custom Cabinets
Last year, I helped retrofit trim in a historic home where consistency across 30+ feet of baseboard was critical. By using a template and a top-bearing flush-trim bit—and making three incremental passes—we achieved seamless joints with zero gaps. The homeowner couldn’t believe it wasn’t factory-made.
Similarly, a local cabinetmaker client reduced sanding time by 60% after switching to precise, multi-pass routing techniques outlined in Fine Woodworking, a trusted industry resource for over 45 years. Data from their shop logs showed a direct correlation between depth-per-pass discipline and finish quality.
For more on tool safety standards, refer to OSHA’s guidelines on woodworking machinery (osha.gov/woodworking).
Frequently Asked Questions
Can beginners use a wood router safely?
Yes—with practice, proper safety gear, and gradual skill-building on scrap wood. Start with edge profiling before attempting joinery.
What’s the difference between a plunge router and a fixed-base router?
A fixed-base router maintains a set depth, ideal for edge work. A plunge router lets you start cuts in the middle of a board—perfect for mortises or inlays.
How do I prevent burning when using a wood router?
Burning usually means you’re feeding too slowly or using a dull bit. Increase feed rate slightly, ensure bit sharpness, and avoid excessive depth per pass.
Should I push or pull a router along the wood?
You should always move the router so the bit rotates into the direction of travel—typically left to right on the edge of a board when viewed from above.
Where can I learn more about woodworking tools?
Explore our About Us page to learn about our team’s hands-on experience in tools and engineering solutions.
Need personalized advice for your project?
We’re happy to help! Reach out via our Contact Us page. And rest assured, your data is protected—we adhere strictly to our Privacy Policy.
Mastering using a wood router isn’t about brute force—it’s about rhythm, respect, and repetition. With these seven proven tips, you’ll avoid the pitfalls that sabotage so many home workshops. Ready to elevate your craft? Let’s route like pros—not rookies.