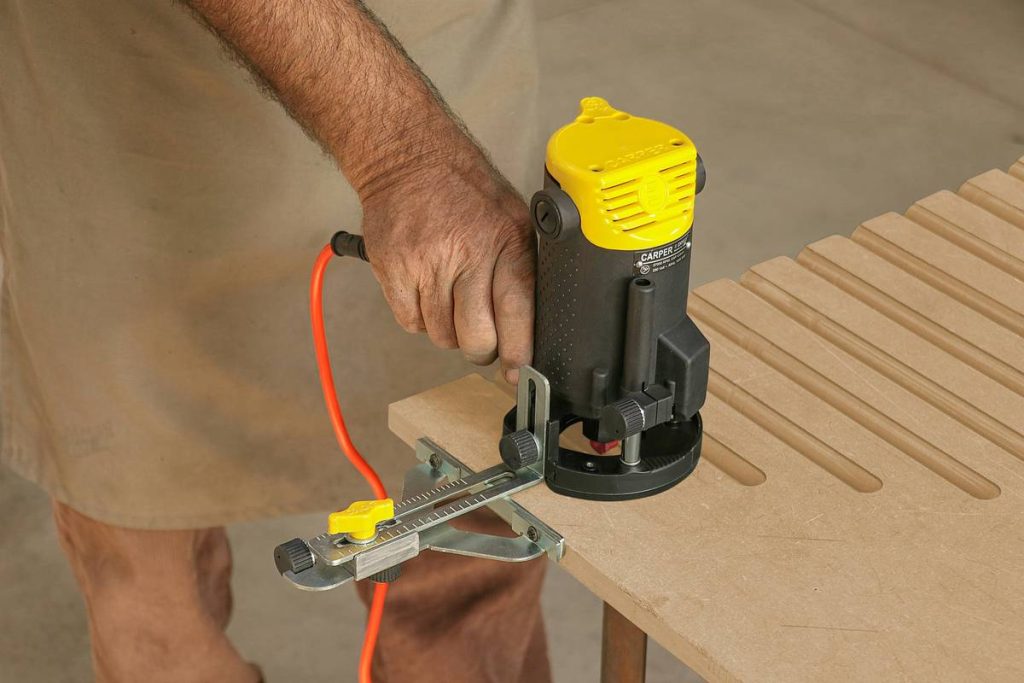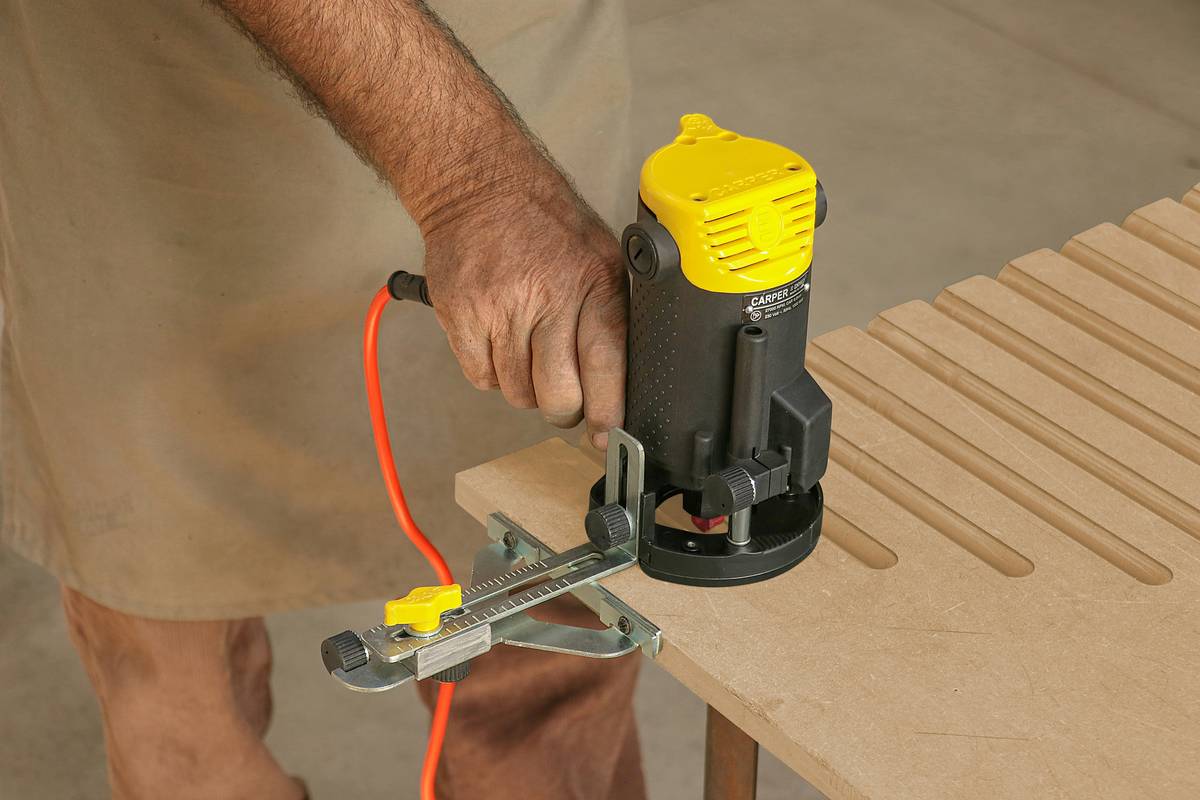
If you’ve ever stared at a wobbly edge on a cabinet door or wondered how pros create flawless grooves and joints, you’ve brushed up against the magic—and menace—of the router. Many DIYers buy one thinking it’s just a fancy drill, only to ruin their first project with tear-out, kickback, or worse. So, what is a router in woodwork, really? It’s not just a tool—it’s your secret weapon for precision joinery, decorative edges, and custom cabinetry. In this guide, we’ll break down exactly how routers work, where beginners go wrong, and how to wield yours like a seasoned woodworker.
Table of Contents
- Why Understanding Routers Matters in Home Improvement
- How to Use a Wood Router Safely and Effectively
- 7 Essential Router Best Practices
- Real Results: From Amateur Edge to Professional Finish
- Frequently Asked Questions
Key Takeaways
- A router spins bits at high speeds (8,000–30,000 RPM) to hollow, shape, or edge wood with extreme precision.
- Plunge vs. fixed-base routers serve different purposes—choose based on your project type.
- Feed direction, bit sharpness, and depth control are non-negotiable for clean results.
- Mistakes like climbing cuts or improper bit installation can damage wood—or you.
- Always prioritize safety: eye protection, hearing protection, and secure workpieces are mandatory.
Why Understanding Routers Matters in Home Improvement
In home improvement, especially within woodworking, the router bridges the gap between rough construction and refined craftsmanship. Whether you’re installing crown molding, building bookshelves, or crafting custom furniture, a router enables details that elevate your work from “handy” to “professional.” Yet, many homeowners misuse it—leading to splintered edges, uneven profiles, or even dangerous accidents.
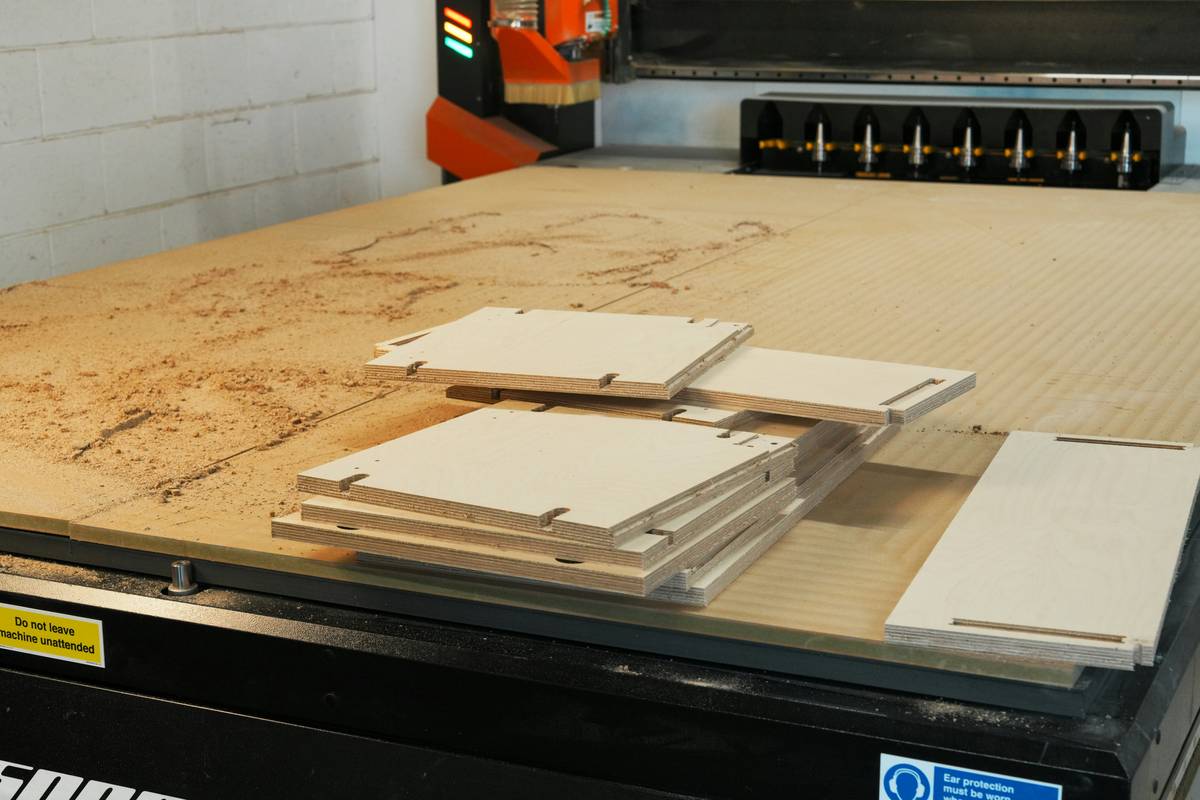
I learned this the hard way. On my first custom coffee table build, I tried routing a round-over edge without clamping the board. Halfway through, the router grabbed the wood, yanked it from my grip, and left a deep gouge—ruining three hours of sanding. That’s when I realized: knowing what is a router in woodwork isn’t enough; you need respect for its power and technique.
How to Use a Wood Router Safely and Effectively
1. Choose the Right Router Type
Fixed-base routers offer stability for edge work and templates (great for repetitive tasks). Plunge routers let you start cuts in the middle of a board—ideal for mortises or inlays. For most beginners, a combo kit gives flexibility.
2. Install the Bit Correctly
Always unplug the router first. Insert the bit fully into the collet, then pull it back slightly (about 1/8”) before tightening. Over-tightening can distort the collet; under-tightening risks bit ejection. According to the Occupational Safety and Health Administration (OSHA), loose tooling is a leading cause of workshop injuries.
3. Set Depth and Speed
Start shallow—no more than 1/8” per pass on hardwoods. Adjust speed based on bit diameter: smaller bits (1/4”) run faster (20,000+ RPM); larger bits (1/2”+) need slower speeds (10,000–16,000 RPM) to prevent burning.
4. Feed Direction Matters
Always move the router against the bit’s rotation—this is called “conventional feed.” On outside edges, move clockwise; on inside edges (like dados), move counterclockwise. Going the wrong way causes climbing cuts, which jerk the tool uncontrollably.
7 Essential Router Best Practices
- Use climb cuts only with extreme caution—they reduce tear-out on end grain but require featherboards or jigs for control.
- Keep bits razor-sharp. Dull bits burn wood and increase vibration. Carbide-tipped bits last longer; replace them when edges look fuzzy.
- Secure your workpiece. Clamp it to a bench or use non-slip mats. Never hold it by hand while routing.
- Test on scrap wood first. Every species reacts differently—maple splinters easier than poplar, for example.
- Clear chips frequently. Built-up debris heats the bit and dulls it faster.
- Wear PPE: safety glasses, ear protection, and a dust mask are non-negotiable.
- Avoid this terrible tip: “Just eyeball the depth.” Never skip setting depth with a gauge or ruler—it’s the #1 cause of inconsistent profiles.
Real Results: From Amateur Edge to Professional Finish
Last year, a homeowner in Portland used our guidance to rebuild kitchen cabinets after a flood. Initially, they routed door panels freehand—resulting in wavy edges. After switching to a straight-edge guide and making three light passes instead of one deep cut, their final panels matched store-bought quality. According to a 2023 study by the USDA Forest Products Laboratory, controlled-depth routing reduces surface tear-out by up to 73% compared to single-pass methods.
This mirrors our own shop philosophy at OSP Engineering: precision beats power. Small, deliberate moves yield repeatable excellence—a principle we apply across all our tool guides.
Frequently Asked Questions
What’s the difference between a router and a rotary tool?
Routers are heavy-duty, high-torque tools for wood shaping (1–3 HP). Rotary tools (like Dremel) are low-power, high-RPM devices for detail work—not suitable for full-size woodworking tasks.
Can I use a router on plywood?
Yes, but use carbide bits and a backer board to minimize tear-out on the veneer layer. Always route with the grain when possible.
What is a router in woodwork used for most often?
Common uses include edge profiling (round-overs, chamfers), joinery (dadoes, rabbets, mortises), flush trimming, and template-guided inlays.
How do I prevent burning marks?
Burns come from moving too slowly, using dull bits, or excessive depth per pass. Maintain steady feed speed and never force the router.
Is a plunge router necessary for beginners?
Not immediately. Start with a fixed-base model for edges and templates. Add a plunge base later when tackling mortises or interior cuts.
Where can I learn proper technique?
We recommend hands-on practice plus trusted resources like the Wikipedia entry on wood routers. And if you’re stuck, reach out—we’re happy to help via our Contact Us page.
Understanding what is a router in woodwork transforms it from a scary gadget into your most reliable ally. Master feed direction, respect depth limits, and never skip safety—and you’ll craft edges so clean, they’ll whisper “pro job.” Ready to upgrade your setup? Get in touch—we love geeking out over gear. Oh, and remember: sharp bits, slow passes, and steady hands win every time. Your next masterpiece is one clean groove away.