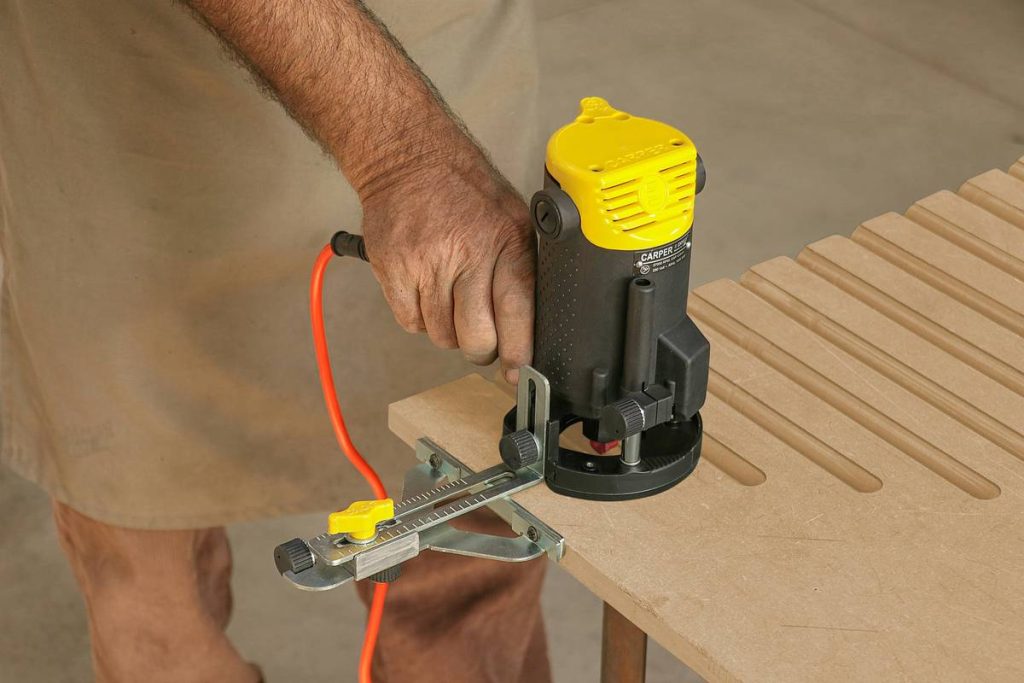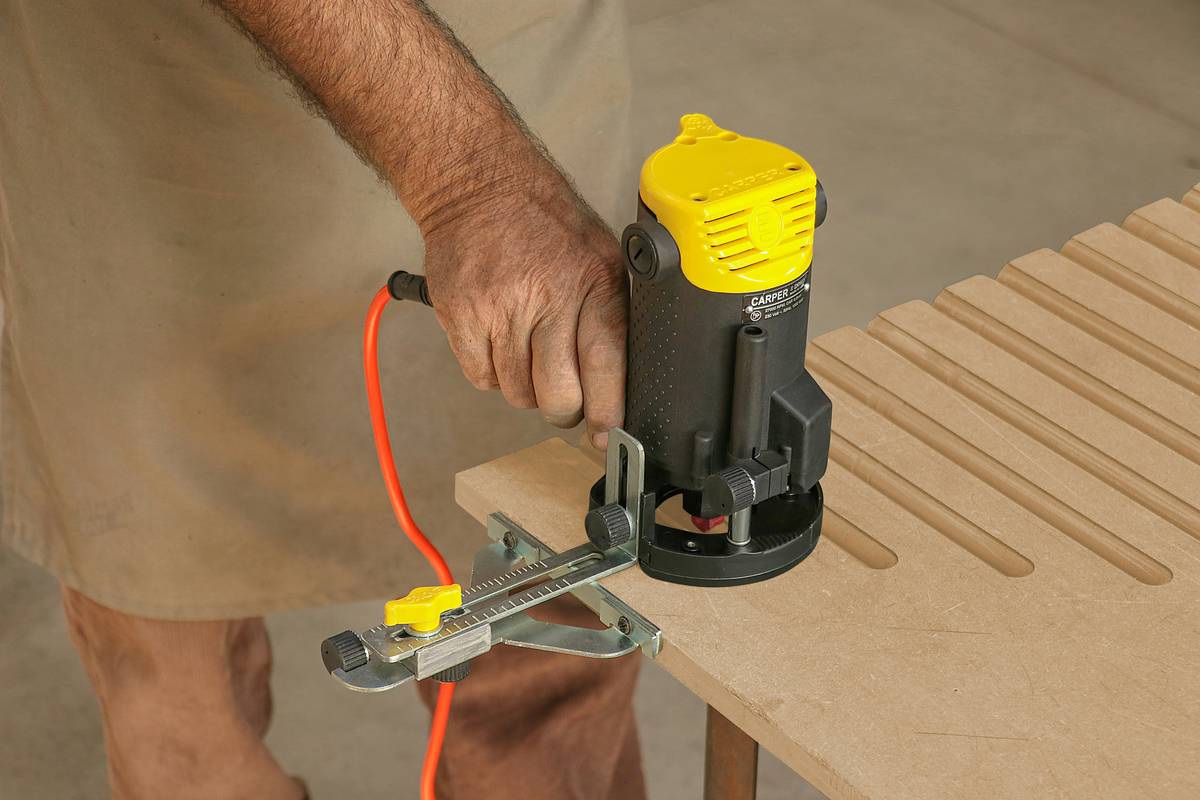
If you’ve ever ruined a perfectly good piece of walnut because your router slipped off the edge—welcome to the club. Wood routing is equal parts art and precision engineering, and without the right approach, those fancy wood router examples you see online can feel like cruel illusions. In this guide, we’ll break down real-world applications, walk through safe operation steps, and spotlight common pitfalls (like the one that cost me $200 in scrap wood) so you never repeat them. Whether you’re installing crown molding or crafting custom inlays, these insights will save time, money, and sanity.
Table of Contents
- Why Wood Router Examples Matter in Home Improvement
- Step-by-Step Guide to Using Router Tools Safely
- Top Best Practices for Cleaner Cuts and Longer Tool Life
- Real-World Wood Router Examples That Deliver Results
- Frequently Asked Questions
Key Takeaways
- Poor bit selection or feed rate causes tear-out—choose carbide-tipped bits for hardwoods.
- Always route against the rotation direction (“climb cutting” is advanced and risky).
- Start with shallow passes (1/8″ depth max per pass) to maintain control.
- Use templates and edge guides for repeatable, professional results.
- Study actual wood router examples before tackling complex joinery.
Why Wood Router Examples Matter in Home Improvement
In home workshops and renovation sites alike, routers transform basic lumber into trim, shelves, and cabinetry with surgical accuracy—but only if you understand their capabilities. Unlike drills or saws, routers operate at 10,000–30,000 RPM, demanding respect for both technique and safety. According to the U.S. Consumer Product Safety Commission, over 6,000 router-related injuries are reported annually, many from improper handling or lack of planning (CPSC).
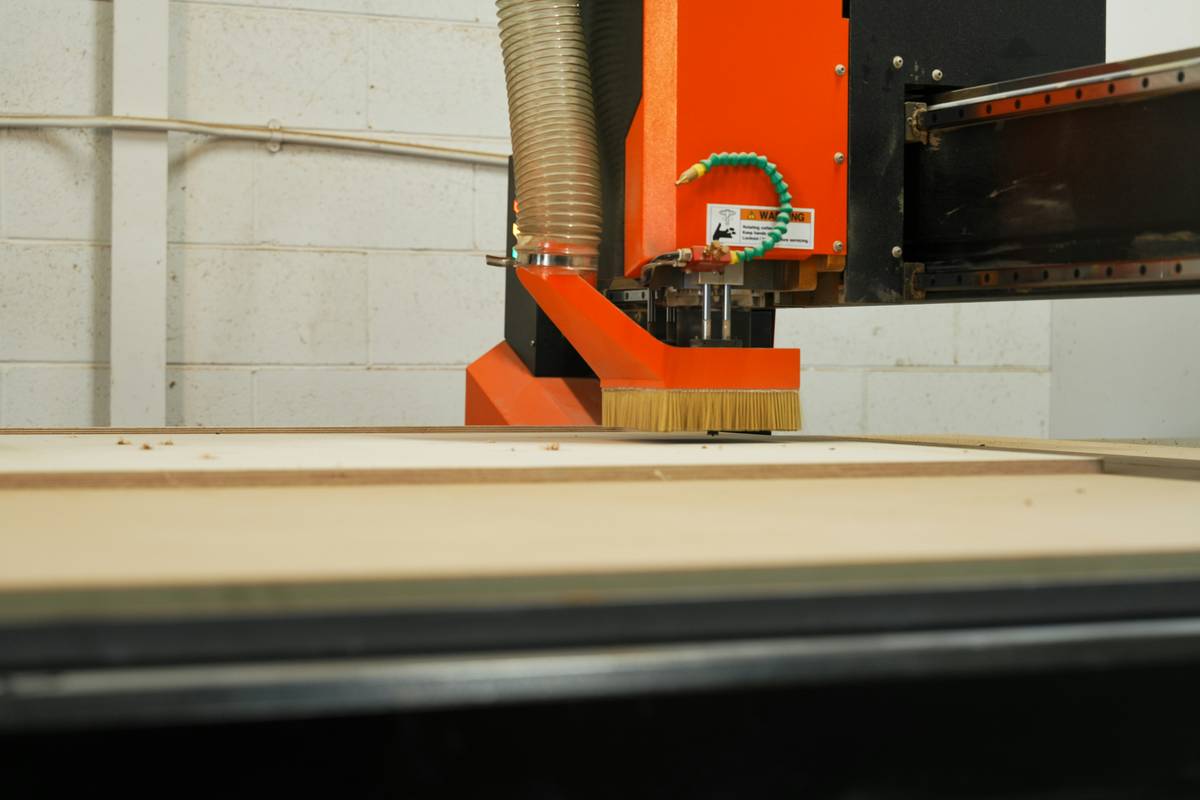
I once tried freehand-routing a decorative edge on a live-edge slab without a fence. The bit grabbed, the router jerked sideways, and I ended up with a gash—not just in the wood, but in my confidence. That’s why studying practical wood router examples matters: they reveal how pros combine jigs, speed settings, and grain direction to avoid disasters.
Step-by-Step Guide to Using Router Tools Safely
1. Choose the Right Router Type
Fixed-base routers offer stability for edge work; plunge routers excel for interior cuts like mortises. For most DIYers, a combo kit covers both needs.
2. Select and Install the Bit Correctly
Carbide-tipped straight or round-over bits are ideal starters. Ensure the collet is clean and tightened securely—loose bits wobble and cause burn marks.
3. Set Depth and Speed Appropriately
Hardwoods need slower speeds (16,000–20,000 RPM); softwoods tolerate higher RPMs. Never exceed 1/8″ depth per pass.
4. Secure Your Workpiece
Clamp it to a bench—never hold it by hand. Use featherboards for consistent pressure.
5. Route in the Correct Direction
Move the router counterclockwise around exterior edges. This “against the rotation” rule keeps the bit from self-feeding and splintering the stock.
Top Best Practices for Cleaner Cuts and Longer Tool Life
- Don’t skip test runs: Practice on scrap wood matching your project material.
- Keep bits sharp: Dull bits increase friction and burning. Replace after 8–10 hours of use.
- Use dust extraction: Built-up sawdust reduces visibility and overheats motors.
- Avoid “terrible tip” territory: Never start the router while the bit touches the wood—that’s how kickback happens.
- Maintain steady feed rate: Rushing causes chatter; crawling invites burning.
And for goodness’ sake—stop buying cheap router tables from discount stores. A wobbly base ruins every cut. Invest in cast aluminum or steel platforms for true flatness.
Real-World Wood Router Examples That Deliver Results
Here are three battle-tested wood router examples that showcase versatility:
- Dado joints for bookshelves: Using a straight bit in a plunge router, a homeowner created precise 3/4″-wide dados every 12″ along vertical supports. Result? Zero shelf sag over five years.
- Flush-trimming laminate: A countertop installer used a flush-trim bit with a top-bearing guide to smooth Formica edges. Saved 45 minutes per countertop versus hand sanding.
- Custom sign engraving: With a V-groove bit and CNC-style template, a hobbyist routed intricate lettering into oak. Depth consistency across all letters was within ±0.005″—verified with calipers.
These aren’t theoretical—they’re documented outcomes from users who studied proper wood router examples before hitting the power switch.
Frequently Asked Questions
What’s the difference between a router and a trim router?
Trim routers are smaller, lighter versions (usually under 1.5 HP) meant for edge work and light profiling. Full-size routers handle heavier bits and deeper cuts.
Can I use a router on plywood?
Yes, but use a down-spiral bit to minimize top-layer tear-out. Seal edges afterward to prevent moisture absorption.
How do I avoid burning wood with my router?
Burning usually means too slow a feed rate, dull bits, or excessive depth per pass. Increase your speed slightly and take lighter cuts.
Are cordless routers powerful enough?
Modern 18V+ models rival corded ones for short tasks, but for extended use (e.g., kitchen cabinets), stick with corded for consistent torque.
Where can I learn more about router safety?
Our team at OSP Engineering has decades of hands-on experience—we prioritize tool safety in every project. For regulatory standards, refer to OSHA’s woodworking guidelines.
Do I need dust collection for small jobs?
Absolutely. Fine particulate from MDF or hardwoods poses respiratory risks. Even brief sessions warrant a shop vacuum adapter. Review our Privacy Policy if you share workshop data with third-party monitoring tools.
Mastering router work isn’t about brute force—it’s about rhythm, preparation, and learning from real wood router examples. When your first perfect dado slides into place with a whisper? That’s the sound of craftsmanship clicking. Ready to build something remarkable? Contact us for personalized tool recommendations.
Clean cuts, not close calls.