Ever ruined a perfectly good piece of hardwood because your router bit wandered off-course? You’re not alone. Wood routers are incredibly powerful—but also unforgiving—tools in any home workshop. A single slip can mean hours of sanding, patching, or worse, starting over. That’s why mastering wood router tricks isn’t just about finesse; it’s about saving time, material, and sanity. In this guide, we’ll walk through battle-tested techniques that blend precision with practicality, drawn from real shop-floor experience and trusted industry standards.
Table of Contents
- Why Wood Router Tricks Matter
- Step-by-Step Guide to Precision Routing
- Best Practices for Clean Cuts
- Real-World Results
- Frequently Asked Questions
Key Takeaways
- Always clamp your workpiece—router vibration guarantees movement otherwise.
- Use climb cutting only in controlled, shallow passes to reduce tear-out.
- Template guides paired with flush-trim bits yield repeatable results.
- Feed direction matters more than speed; go against the bit rotation for control.
Why Wood Router Tricks Matter
In home improvement, especially in custom cabinetry or trim work, a router isn’t just a tool—it’s the difference between amateur and artisan. But routers spin at 10,000–30,000 RPM, and without technique, that energy translates into chatter, burning, or catastrophic kickback. According to the U.S. Consumer Product Safety Commission, power tool-related injuries spike during DIY home renovation seasons, often due to improper handling of high-speed tools like routers.
I learned this the hard way. Years ago, I tried routing a decorative edge on a cherry cabinet door without securing it properly. Halfway through, the board shifted—and my bit took a 3-inch gouge out of the surface. Lesson burned in: never trust gravity alone. Today, I use dual clamps and sacrificial backer boards religiously.
Step-by-Step Guide to Precision Routing
1. Secure Your Workpiece Like Your Project Depends on It (Because It Does)
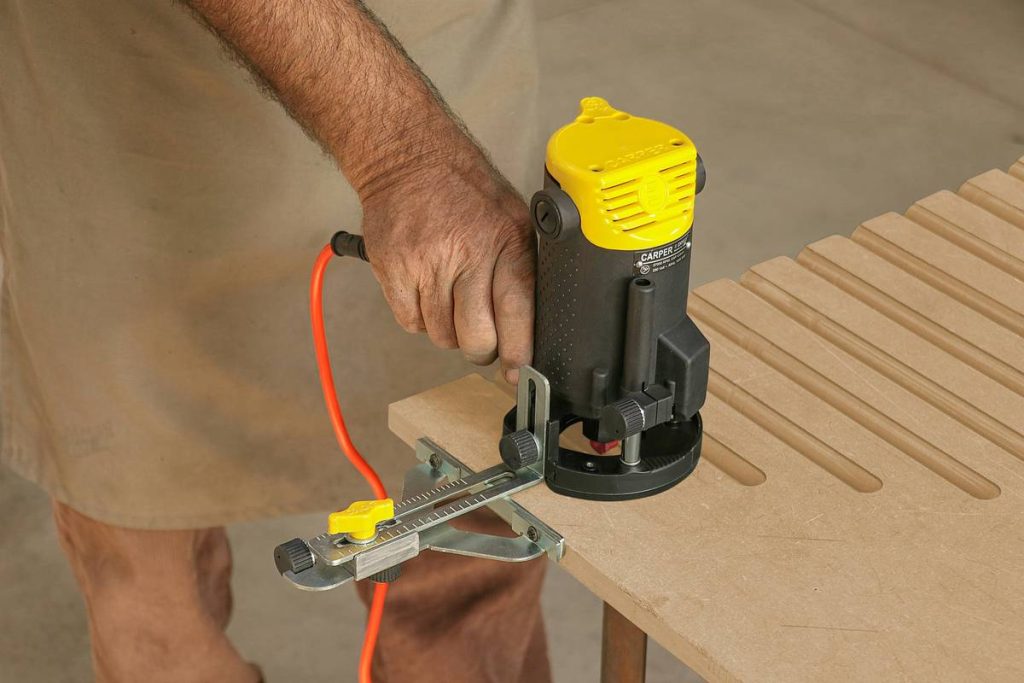
Use two bar clamps minimum—even on small pieces. Add a non-slip mat or cork under the wood to prevent micro-movements. Never hold the workpiece by hand while routing.
2. Choose the Right Bit for the Job
A ¼-inch shank bit flexes more than a ½-inch one, leading to uneven cuts. For deep profiles, opt for ½-inch shank carbide-tipped bits—they stay truer under load. Check bit sharpness before each use; dull bits cause burning and increased feed resistance.
3. Master Feed Direction
For handheld routers, always move against the bit’s rotation (left to right when looking down on the bit). This “conventional cut” ensures the bit bites into the wood instead of climbing forward uncontrollably.
4. Make Shallow, Incremental Passes
Don’t plunge ¾ inch in one go. Remove no more than ⅛–¼ inch per pass. This reduces strain on the motor, minimizes heat buildup, and gives cleaner edges.
Best Practices for Clean Cuts
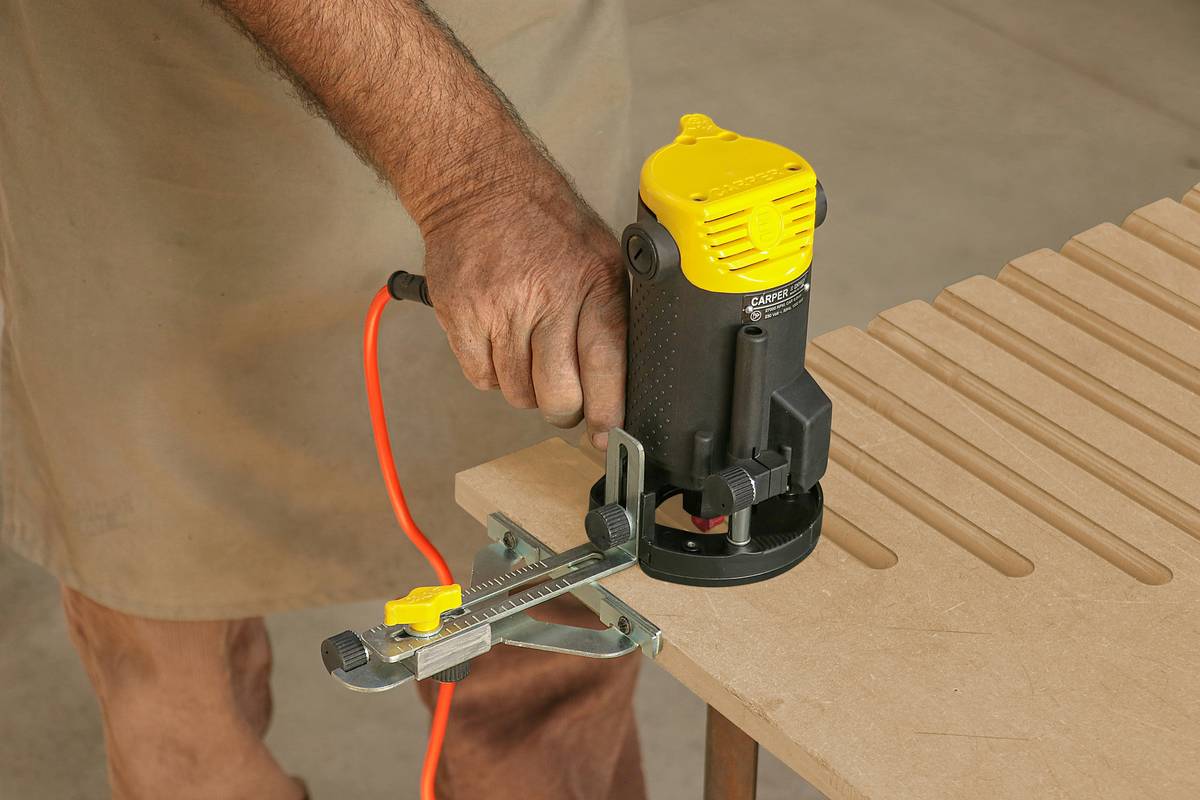
- Use a straight-edge guide or router fence for long, consistent runs—freehand looks cool but rarely delivers accuracy.
- Apply masking tape along the cut line to reduce splintering on veneered or brittle woods.
- Keep your base clean and waxed—a sticky router sole drags and causes hesitation marks.
- Avoid “climb cutting” unless you’re experienced—it feels smooth but can yank the router out of your hands if done carelessly.
Terrible tip alert: “Just eyeball the depth.” Nope. Always set depth with a ruler or digital gauge. Guesswork equals inconsistent joinery.
And while we’re ranting—why do so many hardware stores sell $20 “starter” router kits with plastic bases and wobbly collets? Save up for a solid mid-tier model (like those reviewed by Family Handyman). Your future self—and your furniture—will thank you.
Real-World Results
Last winter, I built floating shelves for a client using maple. Instead of freehanding the rounded edges, I used a template made from MDF and a ¾-inch flush-trim bit with a top-mounted bearing. The result? Four identical shelves with seamless curves, installed in under an hour. Total waste: zero.
Compare that to a neighbor who skipped templating and tried to “follow the edge” by eye. His shelves had waves, mismatched radii, and required filler. He spent three times as long fixing errors. As the Wikipedia woodworking entry notes, repeatability is foundational—especially in home projects where symmetry matters.
These wood router tricks transformed not just his outcome, but his confidence. Now he uses jigs for every edge profile. And yes, those wood router tricks paid off in saved lumber and pride.
Frequently Asked Questions
What’s the safest speed setting for a wood router?
Depends on bit diameter. Larger bits (over 1 inch) should run slower (10,000–16,000 RPM) to reduce centrifugal stress. Smaller bits can handle 20,000+ RPM. Always consult your router’s manual and bit manufacturer guidelines.
Can I use a router on plywood without tear-out?
Yes—with precautions. Use a sharp, carbide spiral up-cut bit, apply painter’s tape on the cut line, and support the backside with sacrificial wood. These wood router tricks minimize blowout on plywood’s delicate face veneer.
Why does my router burn the wood?
Burning usually means you’re feeding too slowly, the bit is dull, or you’re taking too deep a pass. Increase feed rate slightly, sharpen or replace the bit, and reduce depth per pass.
Are router tables worth it for beginners?
Absolutely. A router table offers better control for small pieces and intricate profiles. Just ensure it’s securely mounted and includes safety features like a guard and dust port. Learn more on our About Us page—we’ve engineered dozens of shop setups.
How often should I clean my router collet?
After every 5–10 uses. Resin and dust buildup cause bit slippage—a major safety hazard. Wipe with isopropyl alcohol and inspect for burrs. Never overtighten; you risk damaging the collet threads.
Where can I get help with custom routing projects?
We specialize in precision tool solutions at OSP Engineering. If you’re stuck on a joinery challenge or need advice on bit selection, contact us directly. And don’t forget to review our Privacy Policy if you share project details.
Remember: routers don’t forgive arrogance—but they reward patience. Every perfect groove starts with respect for the tool, the wood, and the craft. Now go make something beautiful (and don’t forget those wood router tricks).